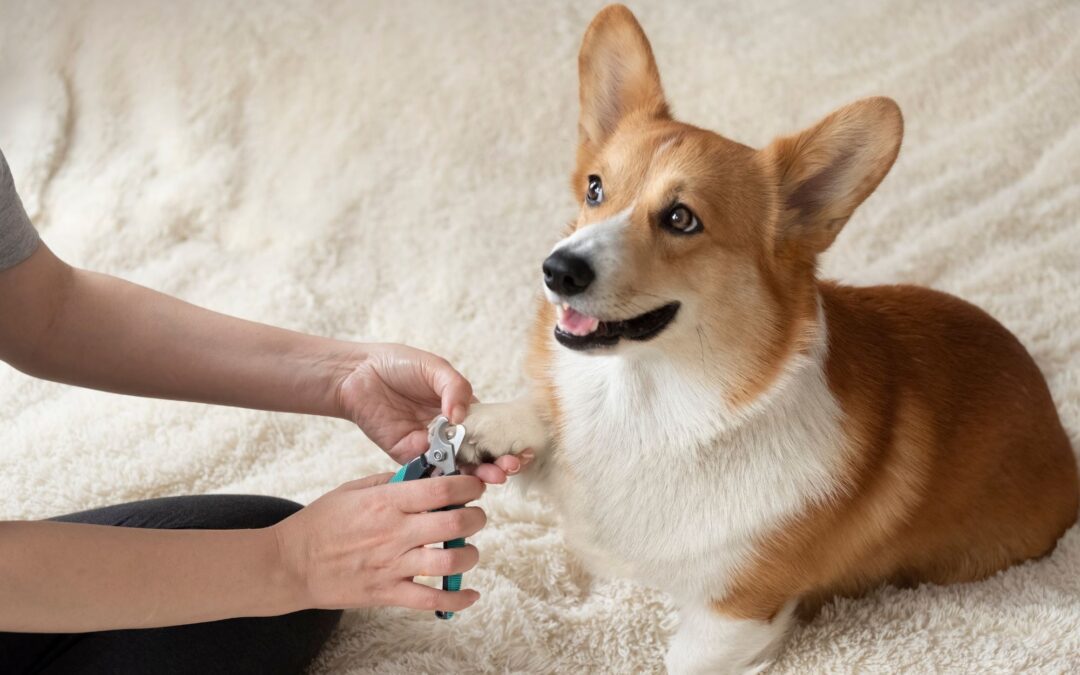
Trimming your dog’s nails at home can be a simple procedure with the right tools and technique. Whether your dog’s nails are long and causing discomfort or you’re just maintaining them for regular dog grooming, trimming at home can save you time and money. This guide will help you understand how to trim dog nails at home, avoid common mistakes, and ensure the process is safe for your pet.
Why Trimming Dog Nails is Important
Dog nail care is crucial for their health and comfort. Overgrown nails can cause pain, affect their gait, and lead to more serious issues. For example, long nails can put pressure on the nail’s blood vessels (the quick), causing discomfort. Regular nail trimming helps prevent these problems and keeps your dog comfortable.
According to Dogs Trust, while all dogs have nails, not every dog requires regular trimming. Whether you need to trim your dog’s nails depends on factors like their weight, breed, and the amount of exercise they get. The type of surface they exercise on also plays a role. Some dogs have dew claws, which are located near their wrist or ankle. These claws don’t usually make contact with the ground, so they won’t wear down naturally and are more likely to need clipping.
What You Need to Trim Dog Nails at Home
Before you start, gather the right tools. Having the appropriate dog nail clippers and other supplies makes the process much easier and safer.
- Nail Clippers- There are two main types: guillotine and scissor clippers. Guillotine clippers are a good choice for small to medium dogs, while scissor clippers are great for larger dogs with tougher nails.
- Nail Grinder- This tool can be useful for dogs who are nervous about clippers or for those with dark nails. It provides a smooth finish and can help ease anxiety by gradually wearing down the nail.
- Clotting Powder (like styptic powder)- It’s essential to have clotting powder on hand in case you accidentally cut the pink quick, which can lead to bleeding. If this happens, stop bleeding with the powder to quickly close the wound.
Step-by-Step Guide to Trimming Dog Nails at Home
Follow these steps to safely and effectively trim your dog’s nails.
Step 1: Get Your Dog Comfortable
Start by creating a calm and relaxed space. Dogs’ paws are sensitive, so make sure your dog is calm and comfortable before you begin. If your dog feels anxious, take it slow and use treats to help distract them. Find a quiet spot, like your lap or a soft mat, to help your dog feel relaxed. Let your dog sniff the clippers or grinder first, so they get used to the sound and feel. Finally, use treats to reward good behavior and make the process easier.
Step 2: Hold the Paw Properly
You’ll need to extend the nails and hold the paw steady. Squeeze your dog’s paw lightly to extend the nails, and if your dog pulls away, give them a few moments and try again. You may need to trim only one front paw nail at a time if they’re feeling anxious.
Step 3: Trim Only the Very Tip
Once you have a firm grip on the paw, begin clipping the nails. For most dogs, you should trim only the very tip of the nail, avoiding the pink area (the quick). The quick is the live part of the nail that contains blood vessels. For light colored nails, you can easily see the chalky white ring around the quick, which helps guide your trim. For dark nails, take extra care and trim a little at a time to avoid cutting into the quick. If you see a small dark circle in the center of the nail, stop trimming.
Step 4: Stop Bleeding If Necessary
If you accidentally cut the quick, don’t panic. Simply apply styptic powder or clotting powder to stop the bleeding. Press gently on the nail to apply the powder, and the bleeding should stop within a few minutes.
Step 5: Trim Additional Nails
Once you’ve successfully trimmed one nail, move to the next one. Depending on your dog’s comfort level, you may need to take breaks in between each nail. Trim just one nail at a time if your dog is nervous. It’s important not to rush, and if you’re not able to trim all the dog’s nails in one sitting, break the task up into smaller steps over a few days.
Remember, trimming a dog’s nails should never be a stressful experience for either you or your pet. If you’re unsure about the process, consider scheduling a pet wellness exam to ensure your dog’s overall health and comfort.
Handling Your Dog’s Anxiety During Nail Trimming
Many dogs find nail trimming stressful. Here are some short tips to help your dog stay calm during the process:
- Puppy training: Start training your puppy early to help them get used to their paw nails being handled.
- Take breaks: If your dog seems stressed, take a break and try again later. Reward them with treats for staying calm.
- Positive reinforcement: After each trim, praise your dog and give them a treat. This helps create a positive association with nail trimming.
How Often Should You Trim Your Dog’s Nails?
This depends on their activity level and how fast their nails grow. For most dogs, nail clipping should be done every 1–2 weeks. If you can hear nails clicking on the ground, it’s time to trim! If you have a puppy, start trimming their nails regularly as they grow to get them used to the process.
What to Do if You Cut the Quick
It’s normal to occasionally cut the quick, especially with dark nails. If this happens, calmly apply styptic powder to the nail to stop the bleeding. Gently comfort them and give them some treats to calm them down, and after the bleeding stops, keep an eye on the nail to make sure it heals properly.
Common Mistakes to Avoid When Trimming Dog Nails
Here are a few common mistakes you should avoid to make the process safer and more comfortable for your pet.
One of the biggest mistakes is cutting too much at once. Always trim a little at a time to avoid cutting into the quick, which can cause pain and bleeding. It’s better to make several small cuts than to risk cutting too deeply.
Another mistake is not using the right tool. Different dogs have different nail types, so it’s essential to use the appropriate nail trimming tool for your pet’s size and nail thickness. For example, small dogs may need smaller clippers or grinders, while larger dogs may require heavy-duty clippers to handle their thicker nails. Using the wrong tool can make the process more difficult and uncomfortable for your dog.
Lastly, don’t skip breaks. If your dog seems anxious or stressed, taking a short break can help both you and your dog stay calm. It’s important to be patient and go at your dog’s pace. If it becomes too anxious, a break can help reset their focus and reduce their stress, making the process smoother for everyone.
Breed-Specific Tips for Nail Trimming
Different dog breeds have unique needs when it comes to trimming their nails. Here’s what you should know about your dog’s breed and their nail care:
- Large Breeds- Bigger dogs often have tougher nails, so you’ll need a stronger tool to trim them. Using a heavy-duty clipper or a nail grinder will make the job easier and safer. Regular clippers might not work well on thick nails, so it’s important to use the right tool for the job.
- Small Breeds- Small dogs tend to have nails that grow faster and need more frequent trims. Since they don’t wear their nails down as much from exercise, regular trimming is important to keep their paws comfortable. Be sure to trim their nails more often to prevent them from becoming too long.
- Dewclaws- Some dogs have extra nails, called dewclaws, on their inner paws. These nails don’t touch the ground, so they don’t naturally wear down. Dewclaws need to be trimmed regularly to keep them from growing too long or getting caught on things. Make sure to check and trim them often if your dog has them.
Additional Tips for How to Trim Dog Nails at Home
If you’re unsure about the technique, watching a video on nail trimming can help guide you through the process. It’s a great way to feel more confident and make the task easier.
Another tip is to work on paw training. Get your dog used to having their paws touched by gently handling them throughout the year. This makes nail trimming sessions much smoother and less stressful for both of you.
Lastly, stay calm during the process. If either you or your dog gets too stressed, take a break and try again later. Staying relaxed helps make the experience better for both of you!
Conclusion
Trimming your dog’s nails at home is an essential part of keeping them healthy and comfortable. With the right tools, patience, and a calm approach, you can trim your dog’s nails safely without stress. Whether you’re trimming just one nail or trimming additional nails, take your time and enjoy the bonding experience with your dog.
If you’re unsure about trimming your dog’s nails or prefer a professional grooming session, book an appointment with Ridgefield Veterinary Center today and let our experienced team take care of your pet’s grooming needs.
FAQs
How to trim my dog’s nails at home?
Use a pair of dog nail clippers, trimming a small bit at a time. Be careful not to cut too close to the quick (the pink part inside the nail).
How to sedate a dog at home for nail trimming?
It’s best to consult a vet before using any sedatives. Some dogs may benefit from calming treats or natural calming aids.
How to cut a dog’s nails for beginners?
Start by trimming small bits, and only clip the sharp tip. Make sure to use a proper dog nail clipper and go slowly to avoid cutting into the quick.
How to trick your dog into letting you cut their nails?
Use treats and praise to create positive associations. Start slowly by touching their paws and giving rewards, then gradually introduce the clippers.
Is it better to cut or file dog nails?
Cutting is quicker and easier for most dogs, but filing can be a gentler option for dogs with sensitive nails.
What is the correct angle to cut a dog’s nails?
Cut the nails straight across, avoiding any angle that could cause cracks. Always trim the tip of the nail, staying away from the quick.